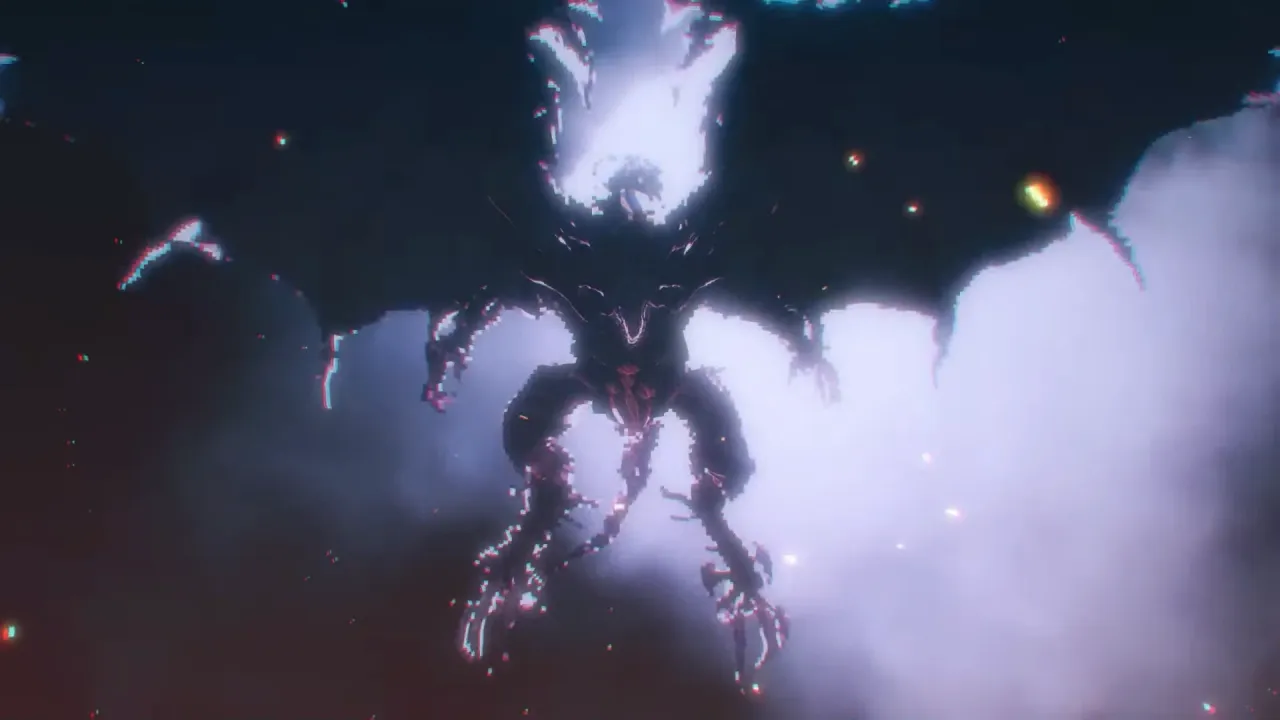
Chapter 6: Tranquility
FF Resonance Chapter 6 Walkthrough: Tranquility
- Steps
- 9
- Bosses
- 9
- Side quests
- 4
- New Visions
- 0
Chapter 6 Walkthrough
List of Objectives
- Go to Gronoa
- Search the continent of Gronoa
- Find information on the miasma
- Get the white jade stone
- Show the village elder the white jade stone
- Use Holy to cross the miasma bog
- Go to Gronoa Shrine
- Go deeper into Gronoa shrine
- Go to Sanctissimus Shrine
- Go deeper into Sanctissimus Shrine
Step-by-Step Guide
- Head to Gronoa
Do the new side quests here, and talk to Aileen about Adamantite weapons if her quest is done.
- Enter Gaberada
Go to the northernmost house, and get the Magi-tenna from the hiding man so you can find hidden treasure.
- Head to the Research Center Ruins
Get the white jade stone behind the Level 3 door; the right one is on the middle table.
- Return to Gaberada
Fina learns Holy, a strong spell that also clears a path through the miasma.
- Go Through the Rugged Mountain Path
Fight Lux halfway through with Dark attacks, and skip buffs since she strips them.
- Enter Gronoa Shrine
After the scenes, head south and work your way down through the shrine.
- Defeat Elfridt
Elfridt is weak to Light and Fire; give your Multi-Cover tank a Ribbon so its ailments miss the party.
- Go Through Sanctissimus Shrine
This dungeon is a long boss gauntlet, so read the stele in each room to plan for the next fight.
- Defeat Geldius
Geldius hits physically, so guard against Deprotect and keep defenses up.
Dialogue Choices and Stat Bonuses
| Answer 1 | Bonus |
|---|---|
| Archaeoaevis | Weakness : Wind Changes elemental weakness , but you can just kill it with non-elemental attacks. |
| Dad Bomb | Weakness : Fire Will explode at low HP , which will wipe your team if you don't have effects like Reraise or passives that let you survive on 1 HP. |
| Test Rider | Weakness : Earth Light Switches between emotional states, and you'll want to play more defensively when it's enraged . |
| Yakhanati | Weakness : Wind Dark Bring both physical and magical Dark / Wind skills so you can hit the boss. The room has a hidden path to the north. |
| Arch Gargoyles | Weakness : Light Wind Kill them both at the same time , or before the one that lives gets a turn, since the survivor revives the one that's dead. |
| Dragon | Weakness : Lightning Kill them before the countdown reaches zero. |
| Lasswell Spoiler | Weakness : None Equip passives that buff Rain or give him extra skills to use in battle. |
Chapter 6 Tips
- Use the Magi-tenna to dig up hidden treasure as you explore.
- Merchant ships with strong gear start roaming the map now.
- Bring Reraise or Grit for the Dad Bomb fight in the gauntlet.
Chapter 6 Bosses
List of All Bosses Encountered
| Boss | Lv. | HP | Weak to | Where | Tips |
|---|---|---|---|---|---|
| Lux | 41 | 125,000 |  | Rugged Mountain Path |
|
| Elfridt | 42 | 120,000 |   | Gronoa Shrine |
|
| Archaeoaevis | 40 | 130,000 |  | Sanctissimus Shrine |
|
| Dad Bomb | 40 | 140,000 | | Sanctissimus Shrine |
|
| Test Rider | 40 | 150,000 |  | Sanctissimus Shrine |
|
| Yakhanati | 40 | 145,000 | | Sanctissimus Shrine |
|
| Arch Gargoyle | 40 | 55,000 | | Sanctissimus Shrine |
|
| Dragon | 42 | 175,000 |  | Sanctissimus Shrine |
|
| Geldius | 43 | 200,000 | | Sanctissimus Shrine |
|
Optional and Side Quest Bosses
| Boss | Lv. | HP | Weak to | Where | Tips |
|---|---|---|---|---|---|
| Odin's Shadow | 45 | 175,000 | | OverworldIron Splitter |
|
| Vindemiatrix | 50 | 250,000 | | Chamber of Arms |
|
| Shaula | 50 | 240,000 | | Chamber of Arms |
|
| Alhena | 50 | 240,000 |  | Chamber of Arms |
|
Chapter 6 Side Quests
List of All Available Sub Quests
| Quest | Where | Rewards |
|---|---|---|
| Reunion | Gaberada, the Undertown | Magicite, 2500 Gil |
| Iron Splitter | Gaberada, the Undertown | Odin |
| Mysidia, Ever Blooming | Mysidia, the Magiapolis | Amulet of Magic Absorption, Permanent stat bonus |
| Shimmering Reflections | Mysidia, the Magiapolis | Blessed Pendant, Permanent stat bonus |
Chapter 6 Visions
No new Visions in this chapter.
Chapter 6 Trophy
And the Winner Is...
- Trophy
- And the Winner Is...
- Score
- 15
- How to get
- Clear Chapter 6.