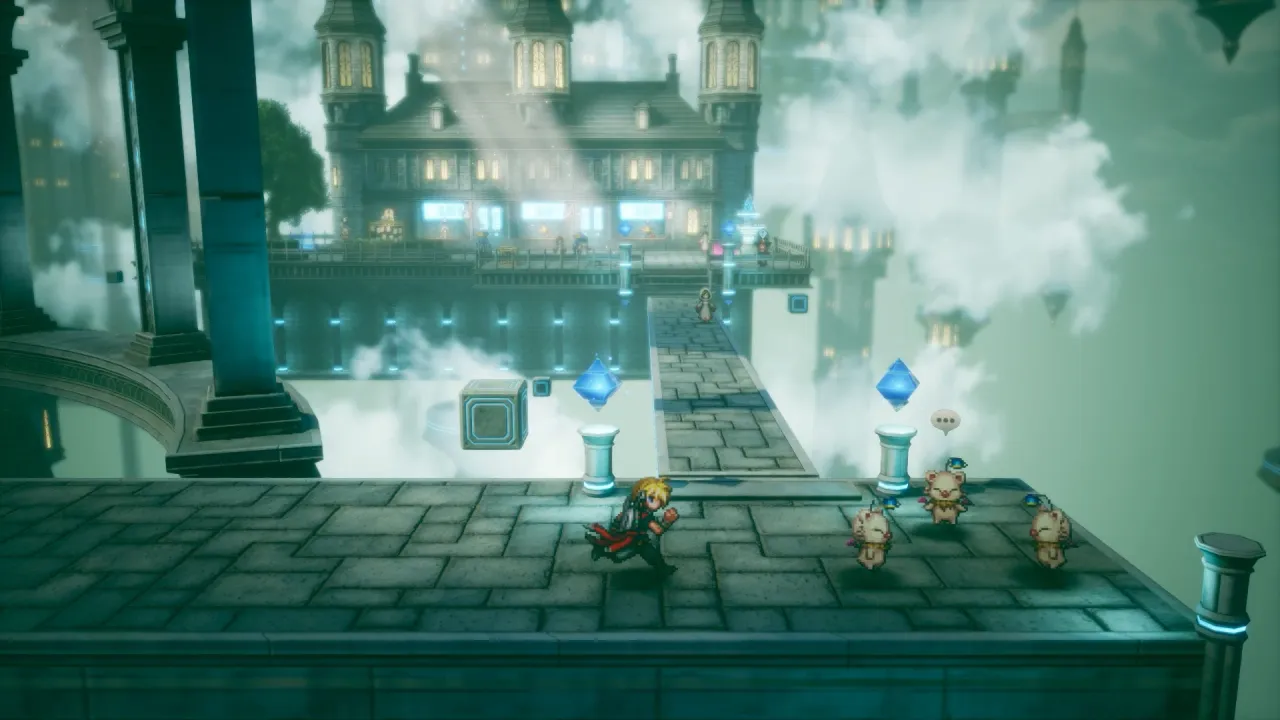
Chapter 1: Trailing the Truths
FF Resonance Chapter 1 Walkthrough: Trailing the Truths
- Steps
- 24
- Bosses
- 4
- Side quests
- 4
- New Visions
- 5
Chapter 1 Walkthrough
List of Objectives
- Complete the Prologue
- Leave Grandshelt Castle
- Investigate the Earth Shrine
- Go to the town of Mitra
- Go to Rain's house
- Investigate Rain's house
- Equip a vision
- Go to Grandshelt Castle
- Save the King of Grandshelt
- Go to the village of Kol
- Stat at the inn in the village of Kol
- Rent a chocobo
- Go to the town of Felicitas
- Go to the Kolobos Ruins
- Look for Emma's mom
- Find a ship in Grandport
- Visit Siren
- Ride the ship out of Grandport
Step-by-Step Guide
- Finish the Prologue
The prologue teaches the battle basics, and Thundaga plus the Bahamut summon carry you through it quickly.
- Leave the Castle
You now control Rain and Lasswell; the castle has nothing for you yet, so head outside.
- Choose a Stat Boost
At the Earth Shrine, pick the second or third line for Stamina or Spirit, since Rain is your tank.
- Go Through the Earth Shrine
Open the two chests by the door, explore every corner, then burn Belmodar with Fire while Lasswell builds stagger.
- Go to Mitra
Go to Mitra for your first two Visions, then equip Tronn on Lasswell and Leah on Rain.
- Continue to Grandshelt
Buy gear from the vendor outside the castle, and grab the 400 Gil and Phoenix Downs from the side chests.
- Head Inside the Castle
The castle is full of undead, so Light attacks and even healing items hurt them badly.
- Kill the Hell's Rider
Take out the three Dark Skeletons first, then hit Hell's Rider with Light and Ice.
- Rescue the King
Sweep the castle before you save the king, because you cannot come back for a while and the Umbra fight after is a scripted loss.
- Explore the Region
Fina joins as you leave town; stay away from the sinkhole south of Kol, where a level 20 Antlion waits.
- Look for Sanctums of Light
Sanctums hold Vision crystals: grab Warrior of Light near Kol first, then Cloud, then Terra once you can ride chocobos.
- Go to the Village of Kol
Sleep at the Kol inn to get chocobos, which carry you past the sinkhole.
- Visit the Oblivion Palace
West of the desert, the Enigmatic Princess trades rewards for Tablet Shards, so check back often.
- Go to Grandport Harbor
Stop at the harbor for gear and hints, then go north of it for Cloud's sanctum.
- Rescue the Girl
Save a girl from goblins on the road south, then detour west for Terra before Felicitas.
- Go to Felicitas
Take Chloe's side quest here; its Monk's Prayer Beads help a lot in a later boss fight.
- Clear Kolobos Ruins
The ruins are short but hide some side paths, so keep your MP for the boss at the end.
- Defeat The Hunger
Use Ice on the first phase and Light on the second, and drop the two soldiers first in phase two.
- Return to Grandport Harbor
Back at the harbor, take and finish The Weight of Mercy before the tower.
- Climb Siren's Tower
A longer climb: pick up the Monk's Prayer Beads and give the Citrine Pot an Ether for an Elixir and lots of MRP.
- Try to Get the Genji Gloves
You will not get to keep the Genji Gloves from this chest, and before going higher, put Monk's Prayer Beads on Rain and Fina to block Charm.
- Face Siren at the Top
Siren is weak to Lightning and becomes your first Esper; for Fina's choice, the first line adds 10 MP.
- Upgrade Visions
A moogle in Grandport now awakens Visions with Magicite Shards, so visit whenever you find one.
- Finish Any Extra Detours
Before you sail, beat the Marauder in its cave up north from the harbor for a Magicite Shard.
Dialogue Choices and Stat Bonuses
| Answer 1 | Bonus |
|---|---|
| I'll take point. Follow my lead. | +3 Strength |
| We're only here to check that everything is in order. Be ready to fall back if you sense danger | +3 Stamina |
| Cohesion is key. We need to be aware of each other's situations. | +3 Spirit |
| Answer 2 | Bonus |
|---|---|
| Right, we'll need to rely on your strength more than ever, Fina. | +10 MP |
| Yeah, but not everything about fighting is being on the offense. I'll leave the defense to you, Fina. | +3 Stamina |
| Don't sell yourself short. We're a team—you're already doing an amazing job, Fina. | +3 Spirit |
Chapter 1 Tips
- Read cutscenes instead of skipping them, since some hide permanent stat choices.
- Explore every new area fully for chests and hidden paths.
- Pick up Tablet Shards as you go and turn them in at the Oblivion Palace.
Chapter 1 Bosses
List of All Bosses Encountered
| Boss | Lv. | HP | Weak to | Where | Tips |
|---|---|---|---|---|---|
| Belmodar | 4 | 2,000 |   | Earth Shrine |
|
| Hell's Rider | 6 | 4,000 |   | Grandshelt, the Royal Capital |
|
| The Hunger | 9 | 2,500 | | Kolobos Ruins |
|
| Siren | 11 | 20,000 |  | Siren's Tower |
|
Optional and Side Quest Bosses
| Boss | Lv. | HP | Weak to | Where | Tips |
|---|---|---|---|---|---|
| Poison Flora | 7 | 1,200 |  | OverworldDream of an Idealist |
|
| Imposter Soldier | 10 | 1,600 | | Kolobos RuinsThe Weight of Mercy |
|
| Antlion | 20 | 20,000 |  | Overworld |
|
| Marauder | 15 | 30,000 | | Marauder Cave |
|
| Gilgamesh | 11 | 6,000 | None | Siren's Tower |
|
Chapter 1 Side Quests
List of All Available Sub Quests
| Quest | Where | Rewards |
|---|---|---|
| Dream of an Idealist | Grandshelt, the Royal Capital | Flamberge, 500 Gil |
| Secrets Unearthed | Town of Felicitas | Magicite Shard, Monk's Prayer Beads |
| The Weight of Mercy | Grandport Harbor | Iwakirimaru, 500 Gil |
| Rear Support, Ahoy! | Grandport Harbor | Magicite Shard, 500 Gil |
Chapter 1 Visions



Chapter 1 Trophy
A Journey Begins
- Trophy
- A Journey Begins
- Score
- 15
- How to get
- Clear Chapter 1.